I love almond milk. I made the switch from dairy milk about four years ago and I’m never going back! I went through many different brands and varieties until I found the one I liked best. Recently, I came across a recipe in The Moon Juice Cookbook (Amanda Chantal Bacon) that made making it myself sound oh, so easy. And it was! I’ve been making it once or twice a week for a few months now and even dehydrate the pulp to grind into almond flour.
The process is outlined below. You will need a nut-milk bag to press the milk out of the pulp. It’s basically a reusable fine mesh or cotton bag and you can grab one for a few dollars on Amazon or at a health food store. You’ll also need some glass bottles or jars to store your milk in. The salt and sweetener are optional. I don’t add either, but try it with and without and decide which you prefer. Don’t overdo the amount you make at first. Fresh almond milk doesn’t last as long as store-bought, so only make as much as you can use in about 4 or 5 days. Learn from my mistake! Lol. Print
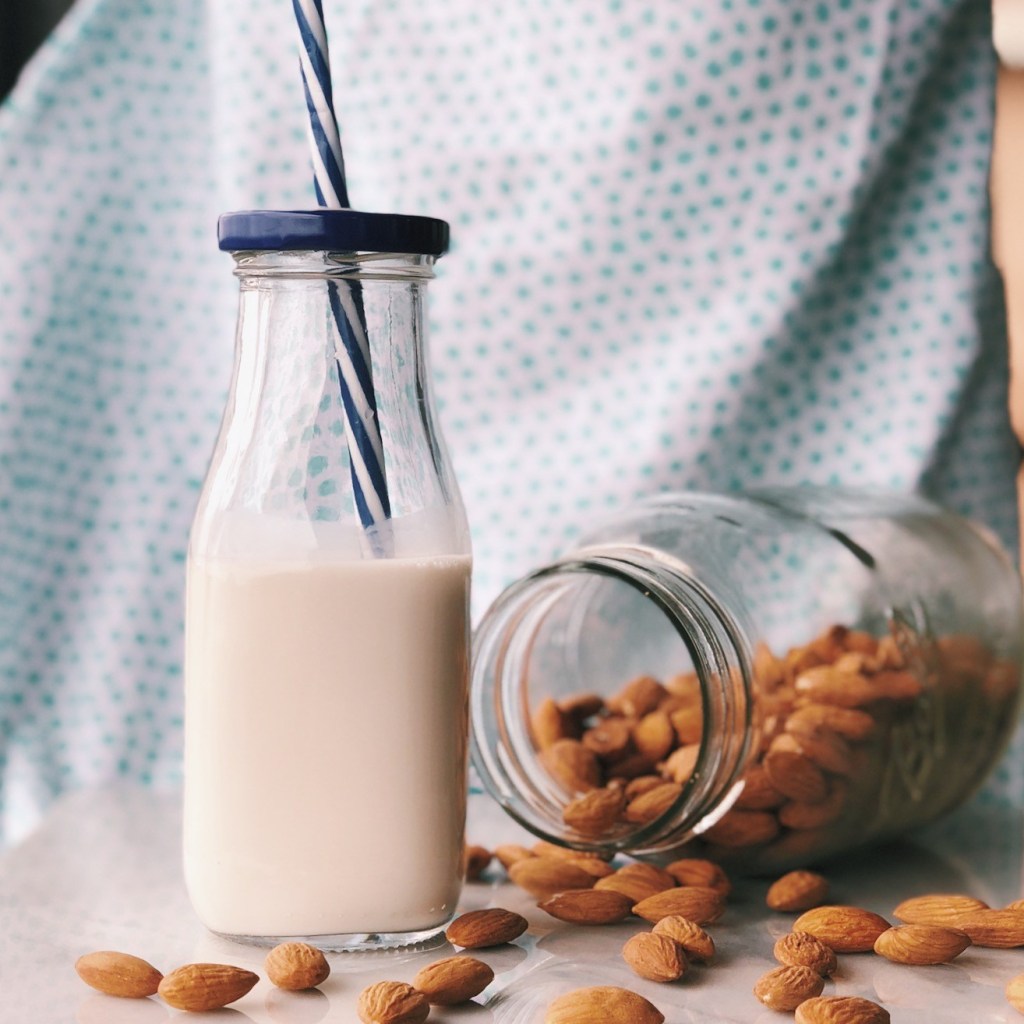
Almond milk
This recipe has been adapted from The Moon Juice CookbookServings 5 cups Author Claire Bartlett
Ingredients
- 1 cup raw almonds (organic if possible)
- 5 cups filtered water
- 2 tsp honey, maple syrup or other sweetener of your choice
- Pinch of salt
Instructions
Almond milk
- Pop the almonds in a jar and add enough water to cover. Soak overnight.
- Discard soaking water from the almonds and add them and the 5 cups of fresh water to a high-powered blender.
- Blend for about one minute, or until the skins are broken into very small pieces. Don’t blend for too long.
- Place the nut bag over a bowl, jar or container that fits the size of the bag. I use a square plastic container and the bag fits securely over the sides. Pour the milk into the nut-milk bag, then unhook the bag and twist and squeeze as much of the milk out as possible.
- Pour the milk into a glass container and keep refrigerated.
Almond flour
- Spread the pulp on a baking paper lined oven tray and place in a very low oven (200F/95C) for about three hours. Check to make sure the pulp doesn’t brown or burn.
- Allow pulp to cool completely on the tray, then place in a high powered blender for a minute or so until it forms a fine powder. I like to collect dehydrated dried pulp in a bag in the freezer until I have enough to make a decent batch of flour.
- Store in an airtight container. It will last longest stored in the freezer.
